Here is how to create a post to appear on the Journal Page.
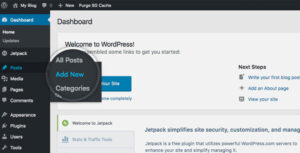
Hover over Posts and click Add New:
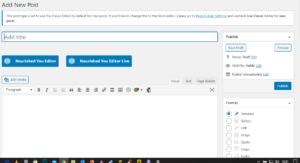
Give the post a snappy title and type in the text in the editor area below, just as you would in any word document editor.
INSERT IMAGES
To insert imges, place the cursor where you would like the image to appear, .click the Add Media button and upload file from your computer.
ALIGN IMAGES
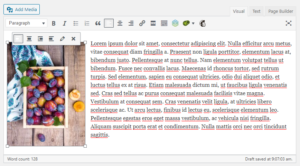
To align the image once inserted into the post: Omce the image is inserted, it will need to be aligned. Click once inside the image and an editor will appear above the image (see below)
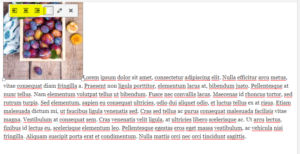
Click on left/right or centre align. I have chosen here to aligh to the left
~The image is now aligned to the left.
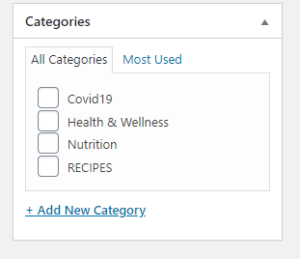
CATEGORIES
Next assign your post a category. This is what tells the archive page to pull this post up. On the right hand side of the screen is a category box. Choose as many as is appropriate, or create a new one.
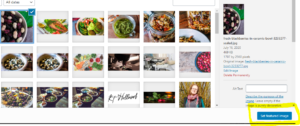
FEATURED IMAGE:
This may seem like an afterthought but this is important! The archive page (Journal) does not automatically pull an image from the post to it’s archive. It uses the selected featured image to show on the page archive. If you leave this blank, a default placeholder image will be used in it’s place.
Simply click the “Featured Image” link on the right hand side of the screen and use the media library/upload image as before to choose the image you wish. Click on Set Featured Image and it’s all set to go.
Finally scroll back up to the top right of the screen and cick Publish. All done! Navigate to the Journal page and see it in action!